
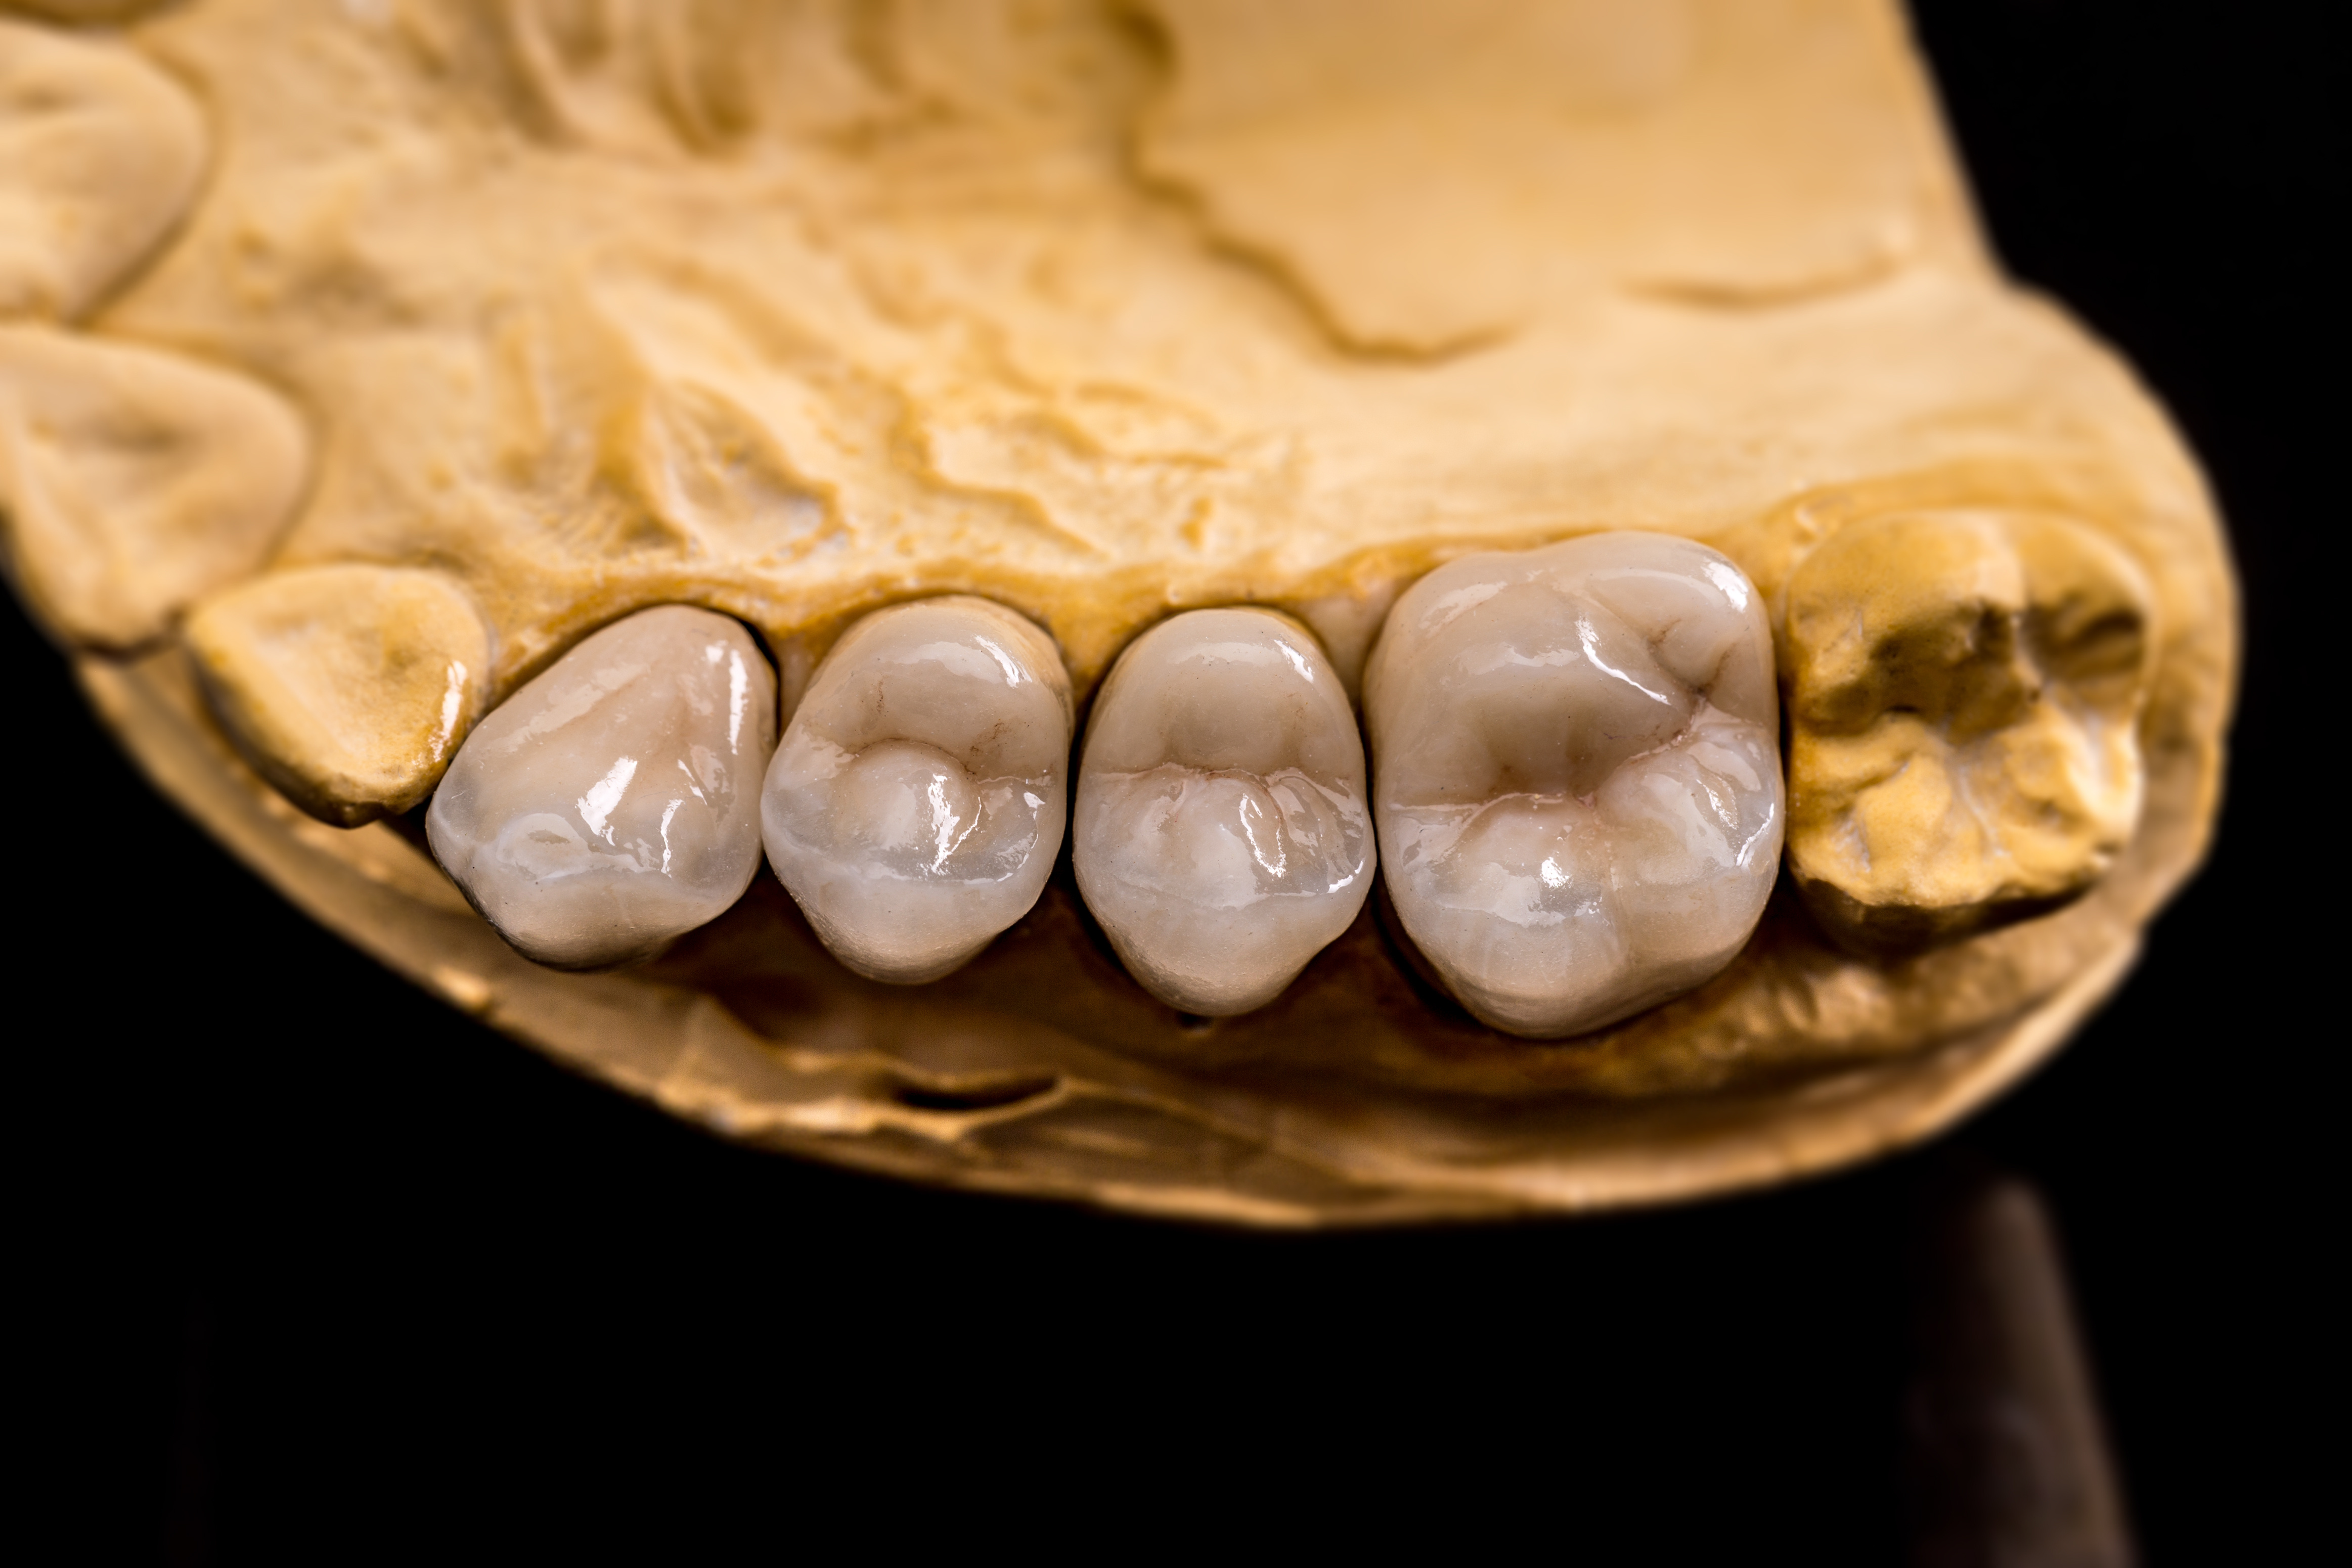
Since 2000, JU Genesis Lab has been a trusted partner for dental practices across the United States. Our sophisticated expertise in the latest industry technologies empowers our team to deliver enhanced quality control and personalized support. By leveraging our innovative digital clinical workflows, we are committed to helping you meet your patients' needs, thereby elevating the quality of care you provide.
Basic Conventional Impression Workflow
8-step process from impression to delivery
Case Arrival
After the dentist takes the bite impression — either traditionally with alginate or impergum, or digitally with an intraoral scanner — the scan is sent to our lab. Physical cases arrive via mail, FedEx, UPS, or courier, while digital cases arrive via digital portal on the computer.
For physical cases, the Shipping and Receiving team are the first to assess the package. They disinfect each individual case according to OSHA guidelines and assess for obvious defects in the impression or intraoral scan.
Data Entry
Once the case passes through quality control, the data entry team thoroughly enters the case details. Entering the dentist's script into our database provides a physical work ticket for our dental technicians. The work ticket details the product, shade, preferences, and the specific schedule for each task to be completed by the doctor's requested due date.
While entering the Rx information, our data entry specialists scan in the physical copy of the Rx to reference if needed. Additionally, every case is photographed, documenting what was received from the doctor — impressions, bite registrations, and parts if included.
Modeling and Design
Traditional cases arrive at the model department, while digital files go directly to the CAD/CAM department. Depending on whether the case will follow our digital workflow, the case could go forward in the CAD room for scanning and designing or follow our traditional workflow with our waxers to start the prosthetic.
During the model process, each impression is poured, pinned, articulated and ditched along the margin line. After inspection, if anything is found to be troublesome, our technical support team reaches out to the dentist. If all is approved, the case moves to the next step — traditional wax/invest/cast or scanning and digital design.
Prosthesis Fabrication
The final design is then milled or printed in house. Prostheses can either be pressed, milled, or cast — depending on the selected material. With our digital workflow, our CAM team is able to load, nest, dry mill, wet mill, or print some of our restorations.
For our CAD/CAM process, the design goes to our Milling team. The case is nested and fit into milling blocks — zirconia, lithium disilicate, or wax. From there the case is milled in its proper material and shade.
Fit and Contour
After the milling, printing, pressing or casting is complete, there are different paths depending on the material:
- PFM: Casted → metal finishing → junior ceramist (degas/opaque) → senior technician (porcelain build, contour, custom stain & glaze)
- Full contour zirconia / lithium disilicate: Fit and contoured → ceramist for final stain and glaze
- Layered zirconia / lithium disilicate: Coping fit to model → porcelain built and contoured → custom staining and glazing
Quality Checkup
Cases completed by each technician are reviewed by the Senior Denture Manager and Crown Manager. They examine the instructions from the doctor's office and undergo a quality checkup to confirm the condition of the crown and ensure all specifications have been met.
Packaging
After passing quality control, the case is securely packaged by the Packaging Department. This includes carefully shipping the triple tray, models, and any other accessories that came from the doctor's office. An invoice is generated and verified against the doctor's office order to ensure accuracy. Finally, the packaged case is sorted and distributed to either the designated local delivery person or a specialized delivery service.
Case Delivery
Once the case passes secure packaging, it is delivered to each respective dental office on time using the assigned delivery method. At the dental office, the dentist will inspect the case and check its fit with the patient. If necessary, the dentist may send the case back to the lab for adjustments.
Digital Impression Workflow
3-step streamlined digital process
Data Acquisition
The workflow begins with data acquisition, conducted by the dentist either digitally or traditionally. For a traditional impression, the dentist forwards the impression to the dental lab, where skilled technicians create a cast model and then digitize it. In the case of a digital impression, the dentist can transmit the file scanned with an intraoral scanner to the lab using a portal that allows file transfers, or directly via the dental lab's website or email.
Computer Aided Design (CAD)
To facilitate precise CAD design, our dental lab uses professional dental design software such as Sirona, Zirkonzahn, Exocad, and 3Shape. Our skilled technicians then meticulously craft the prosthesis or abutment digitally.
Computer Aided Manufacture (CAM)
Depending on the chosen processing method, the dental laboratory will proceed with either direct digital fabrication of the crown and/or prosthetic abutment via CAM, or create a prototype of the digital model before adding the final touches and refining the prosthetic product using traditional methods.
Using Existing Dentures Workflow
6-step process for duplicating or replacing existing dentures
Denture Reception and Evaluation
Receive existing dentures from the patient or clinician. Conduct a thorough assessment of the denture's overall condition, aesthetics, occlusion, fit, vertical dimension, and wear. Review any patient or clinician requests for modifications or enhancements.
Denture Digitization and Record-Keeping
Digitally scan the evaluated denture, converting it into precise 3D data. Save the digital data into design software (e.g., exocad or 3Shape) for future design processes. Promptly return the existing denture to the patient or clinician within the requested timeframe.
Digital Denture Design
Begin the new denture design based on the digitized data of the existing denture. Incorporate patient requests and improve upon the original denture's occlusion, vertical dimension, facial support, and aesthetics. Share a digital preview of the finalized design with the clinician, and obtain final approval after patient review.
Duplicate or Replacement Denture Fabrication
Fabricate a duplicate or replacement denture based on the approved digital design. Utilize advanced production methods such as 3D printing, milling, or traditional analog techniques to ensure precision and aesthetics.
Finalization and Laboratory Quality Control
Perform final polishing and finishing to guarantee superior quality. Conduct rigorous quality checks, occlusal evaluation, and aesthetic assessment to ensure compliance with patient and clinician specifications.
Delivery and Patient Follow-Up
Deliver the finalized denture to the clinician or patient to confirm proper fit, comfort, and patient satisfaction. Gather patient feedback to perform any necessary fine adjustments or rapid remakes, ensuring optimal results and patient comfort.
How Can The Dental Lab Help?
The Dental Lab strives to provide reliable dental restorations using the most advanced technology in digital dentistry. By marrying aggressive pricing with constant technology, dental technicians, teams, and materials, we are able to create anything from the simplest denture repair to complex implant-supported restoration cases.
Call us today to send in your case.